How to Complete a Form
- Log into the 1Life Mobile App.
- Access your company’s forms by tapping 'Forms'.
- Locate the form you wish to complete within its group or by using the search option at the top of the page.
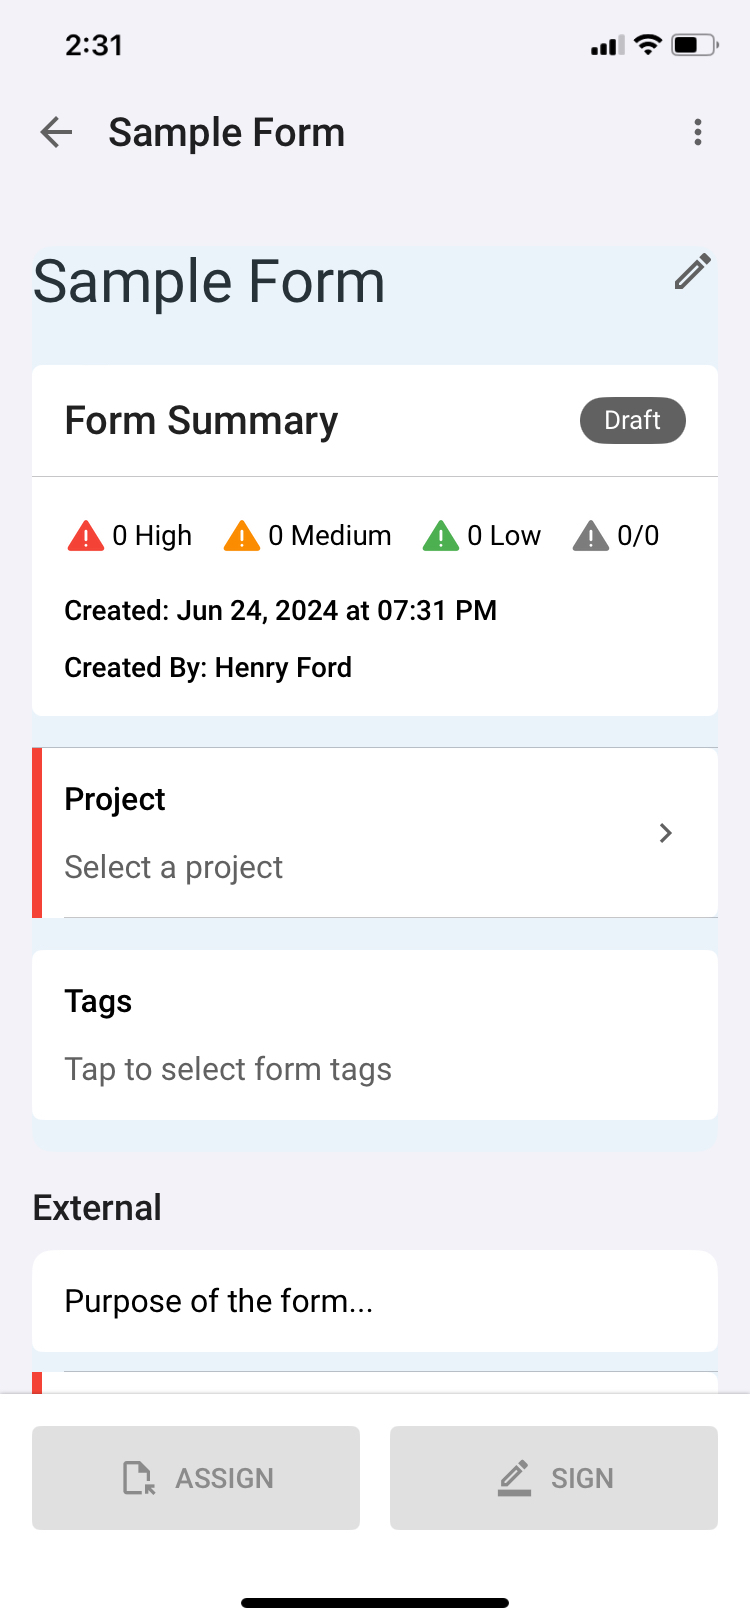
- When you click on a form, it will open a new instance of that form in a ‘Draft’ state. The state of all forms will be displayed in the top right of the form screen and is color coded to help indicate.
- As you can see, some elements of forms are mandatory: any element with a red bar on the left-hand side of the screen is mandatory, and the form cannot be completed until all mandatory elements are answered.
- Choose your project by tapping on ‘Select a Project’.
- Forms Tags:
- You have the option to add form tags to your form as a type of meta data to search for within the web tool later. To attach a form tag:
- Tap on ‘Tap to Select Form Tags'. The form tags in their respective groups are seen on this screen. You can use the search or you can simply scroll and select mutiple.
- Tap the tag name to attach to the form.
- If granted permission on this form, you can add a new tag by selecting ‘New’Here, you can give the tag a name and select ‘Save’ to add to the list. Select the tag name to attach the tag.
- You have the option to add form tags to your form as a type of meta data to search for within the web tool later. To attach a form tag:
- You may also see the Section N/A that can be used to mark all the requird questions as not applicable in the section to move past questions that are not relevant to you. This will not overwrite any information that you have already entered.
- NOTE: At any point, you will be able to exit your incomplete form by tapping on the top left and arrow. Here you can choose to ‘Delete, Save, or Cancel’ your form.

Once you have answered all the questions in the form, you will still be able to add additional hazards if that option has been allowed for this form.
Provided all the mandatory fields have been answered*, you can sign the form by:
- Tapping ‘Sign’, and you will be prompted to sign and the logged in users will be automatically selected. The user will see their name under 'Sign as.'
- Simply sign in the box, you can add any additional comments underneath your signature, if necessary.
- Press the Save button in the bottom right corner.


You can choose to assign the form, or if no other signatures are required you can finalize the form.
Assgining the Form
Once you have signed the form, you will see the completed by signature checked off. You can now assign the form to other users by clicking on assign on the bottom left.

For simplicity, you can use the search and find the person you would like to assign the form to, or you can narrow your seach to supervisors or managers.
Simply click on the persons name and then confirm. Your form will now be assigned to the user you selected.
Additional Signatures
You can also add additional signatures of either another users or a third-party contacts:
- Click on ‘Sign, then the "Sign As" to see the other users and contacts available.
- If they are a Contact, you can find or search for the name under ‘Contacts’ or you can tap ‘+’ in the top right corner to add a new contact; enter the required fields. You can then select their name from the list.
- Both instances will have the signature box appear and they can sign off just as you did.
- You can repeat this process for each additional person’s signature.
Return to the home screen and press 'Assign". This will send the completed form to the website application and/or to the people it has been assigned to.
After synchronization, you can click on the three dots in the top right hand corner to download a copy of the form to email to a third party.